First, make sure you understand what embeddings are and what they’re used for. Please read this documentation to get a clear overview of the concept.
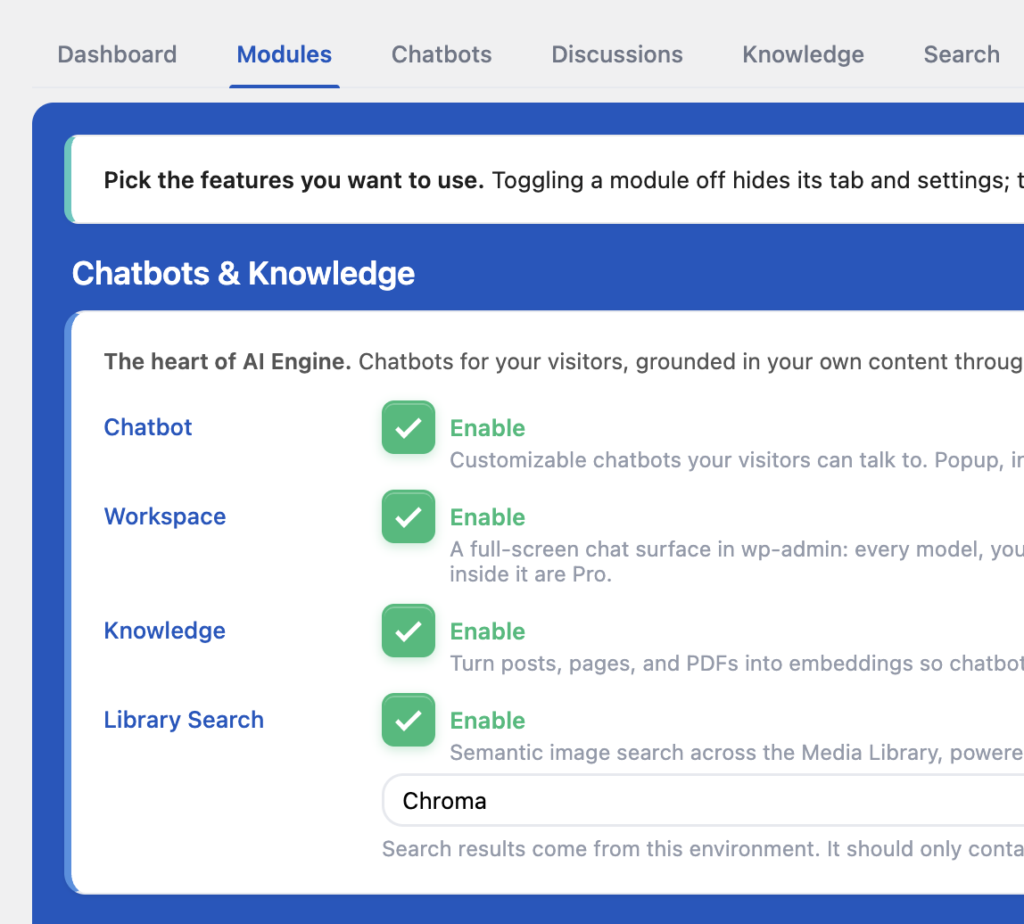
Go to the “Modules” of AI Engine. Enable the “Knowledge” option to display the “Knowledge” tab:
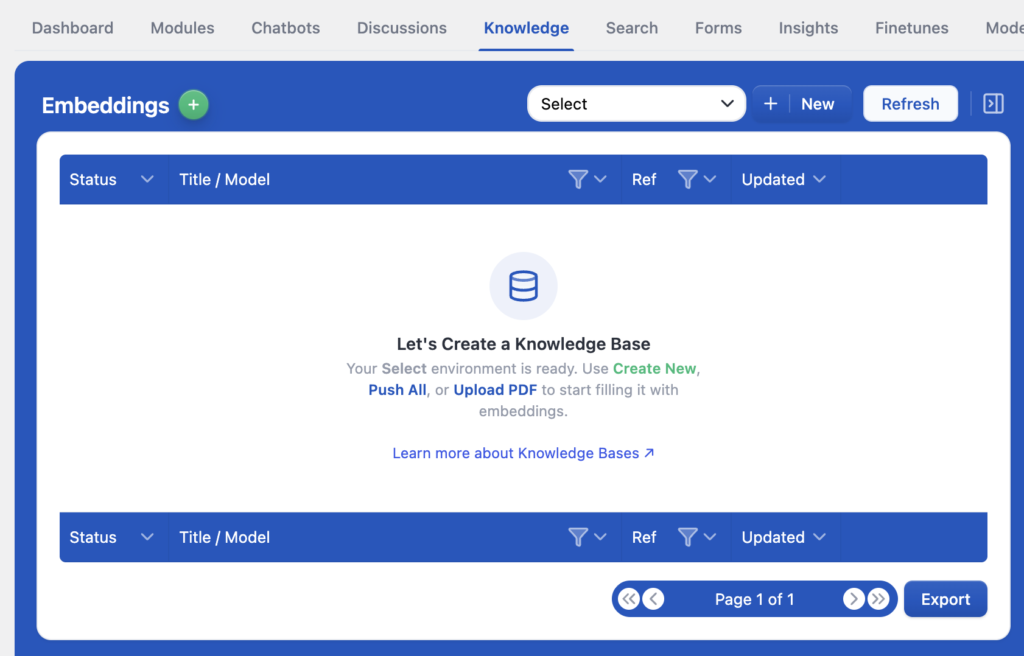
You should now see a new tab called “Knowledge”. This is where you’ll manage all your embeddings within AI Engine.
From this tab, you can create, upload, organize, and maintain your knowledge bases.
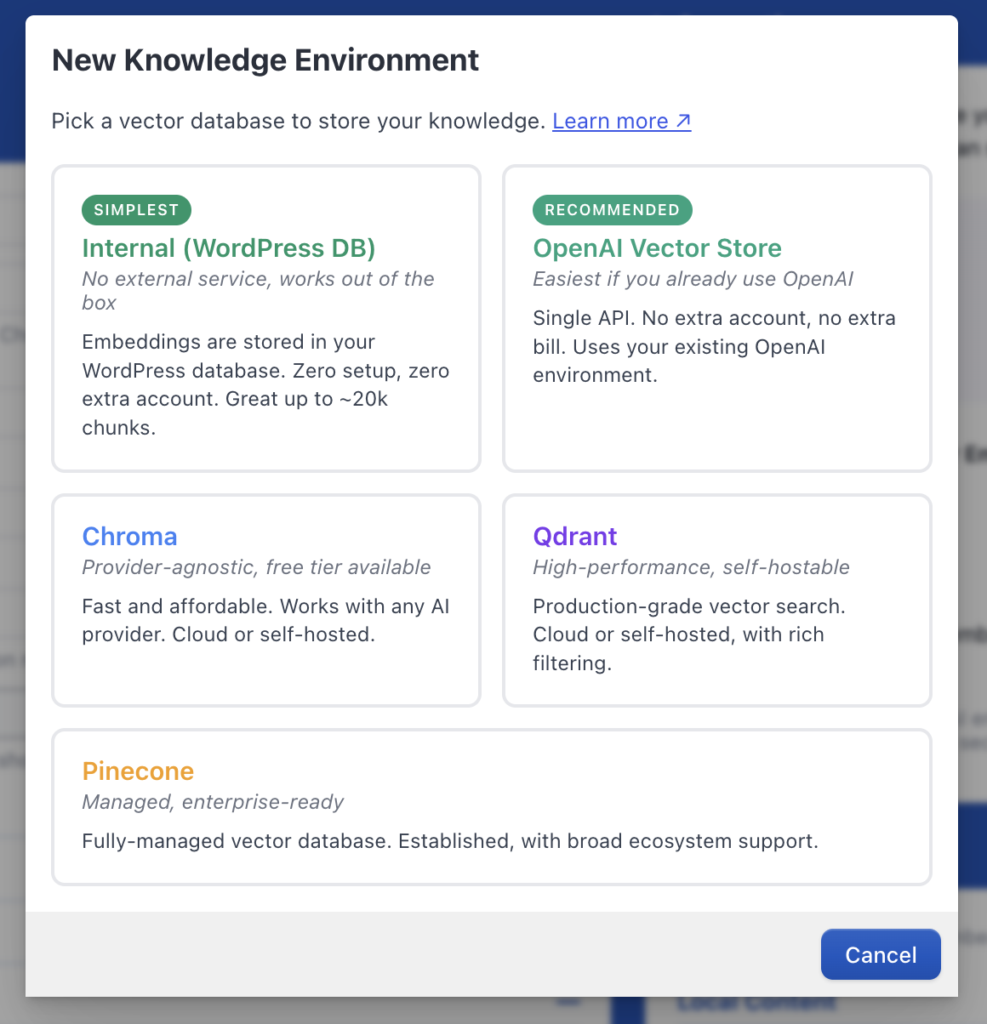
Now you’ll need to create the environment, which only takes a few clicks. Go in the Settings tab, under the Knowledge section, click the green + button next to Environments for Embeddings.
Choose the “Internal WordPress DB” type. There is nothing left to configure. Everything will be handled locally on your site’s database. If you are interested in how that works, read the advanced section below.
You’re done! 🎉
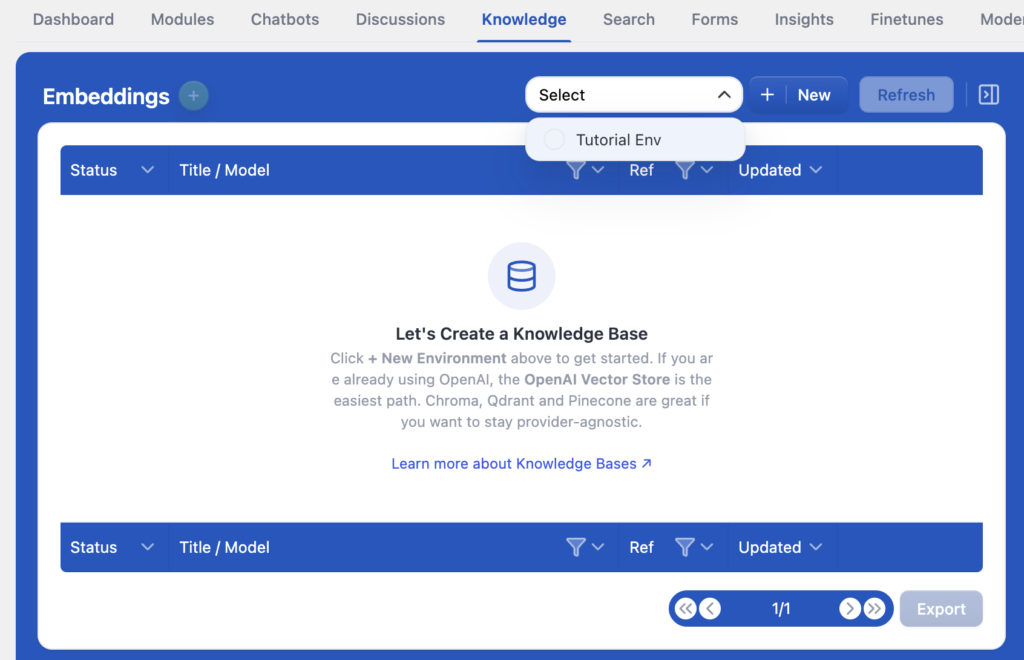
Now, go back to the Knowledge tab, select your environment in the “Select” input and start adding your embeddings.
You can read this documentation to explore the different ways to create or import them, depending on your workflow and the type of data you want to use.
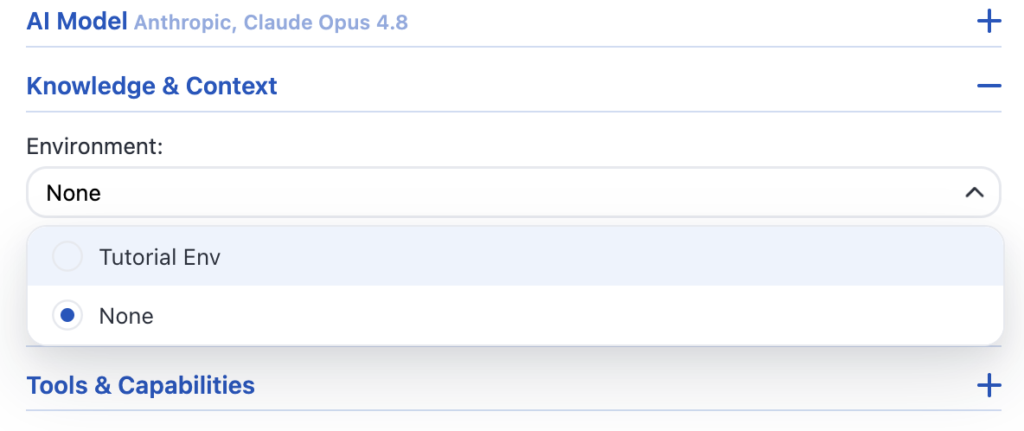
Don’t forget to select this environment in your chatbot settings to actually use it.
Advanced
Most vector databases use specialized index structures to search high-dimensional embeddings fast (for example ANN-style indexing), which is great for large semantic search workloads. AI Engine also supports a simpler path: you can self-host embeddings directly in your WordPress database with the Internal environment, so there is no separate vector service, no extra account, and no API key setup for storage. This local approach is excellent for quick setup and small-to-medium knowledge bases, but the tradeoff is that very large datasets are usually better served by dedicated vector indexing engines that offer higher scale and more advanced tuning.