Welcome to the exciting world of AI Engine! This user-friendly documentation is designed to help you seamlessly set up your first chatbot. Let’s walk through the process step by step, making it easy for you to understand and get started.
How does AI Engine work?
It’s a good idea to first understand what the plugin does. Using AI services directly by yourself can be quite overwhelming and frustrating if you don’t have the right technical skills, and even more troublesome if you want to build your own WordPress integration over it.
Think of the AI Engine as a pre-made dashboard that lets you plug in all the AI services you need into a convenient, already-made panel, so you don’t have to build these features yourself.
The plugin itself doesn’t contain AI models, nor does it provide you with AI-generated content. Instead, it connects to external services and handles all the communication and fetching for you to retrieve this data seamlessly.
So, most of the time, if you experience issues with the content you get, this isn’t on the plugin – it’s coming from the AI models themselves. 🤔
If you need any assistance or have questions, feel free to reach out to our support team. We’re here to help!
Installation and Dashboard Access
Before installing the Pro version of AI Engine, make sure you remove the free version first. You don’t need both, and running them at the same time will only cause issues.
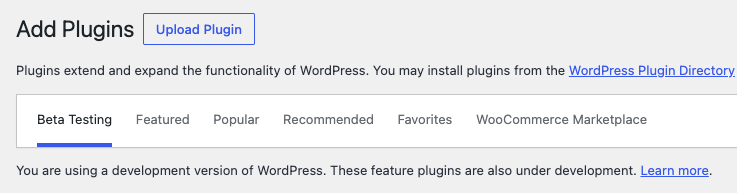
Go to Plugins → Add Plugin. Then you’ll see “Upload Plugin” at the top of the page.
If you have AI Engine Pro, click there and upload the ZIP file you received by email or from your MeowApps account to install the plugin.
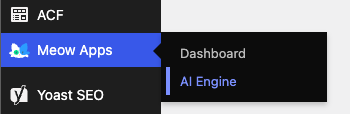
After installing the plugin, you gain access to a dashboard where you can tailor settings, enable/disable features, and manage your chatbots.
If you have AI Engine Pro, the first thing you should do is go to the “License” tab in the AI Engine settings and enter your license key. This will enable all the Pro features.
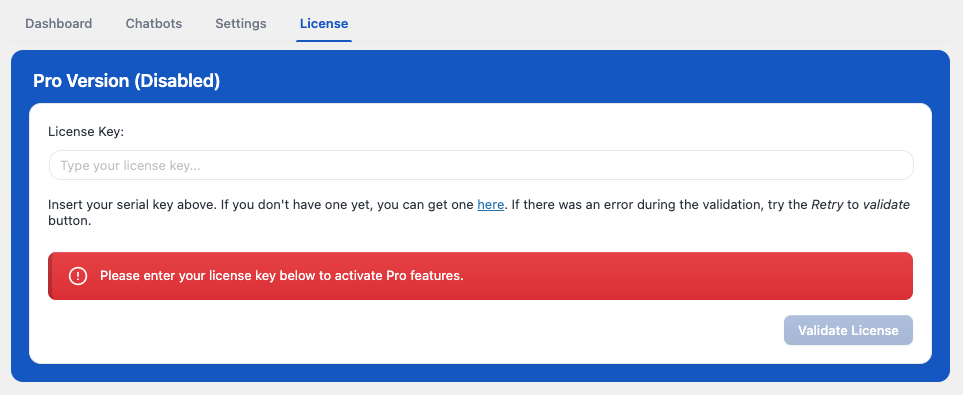
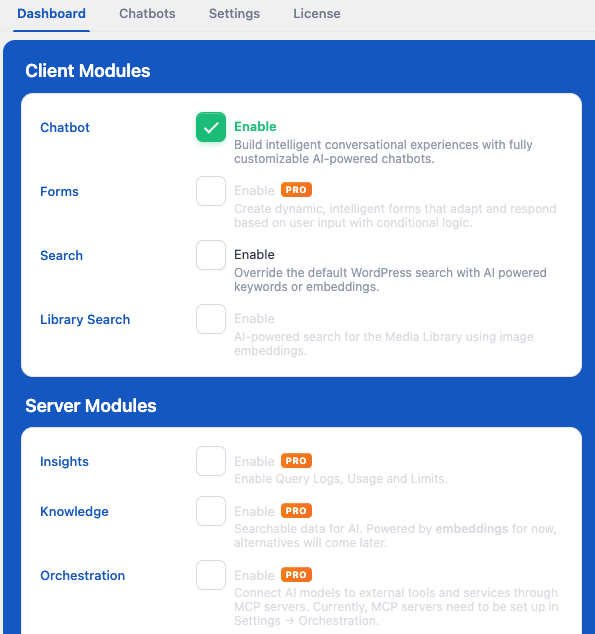
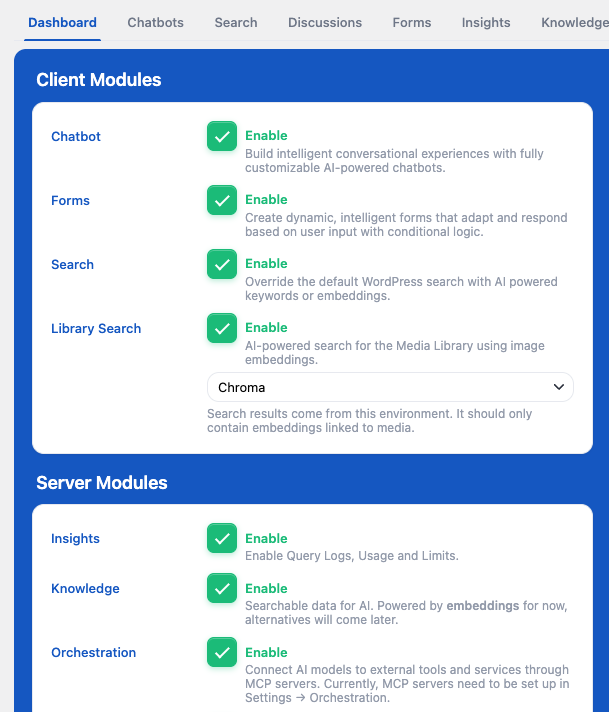
After your license is verified and validated, the page will refresh and all Pro features will be unlocked in the Dashboard, where you can choose which modules to activate.
Each module (in most cases) corresponds to a new tab in the settings, and everything related to AI Engine is managed from there.
Setting Up Your OpenAI Account
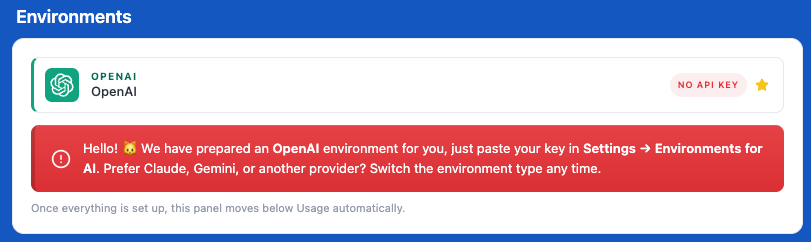
Upon entering, a prominent red warning signals the need to link AI Engine with your OpenAI account. AI Engine relies on third party services, so connect your account and ensure accurate billing details to avoid any errors. If you don’t you will get a “You exceeded your current quota” error message.
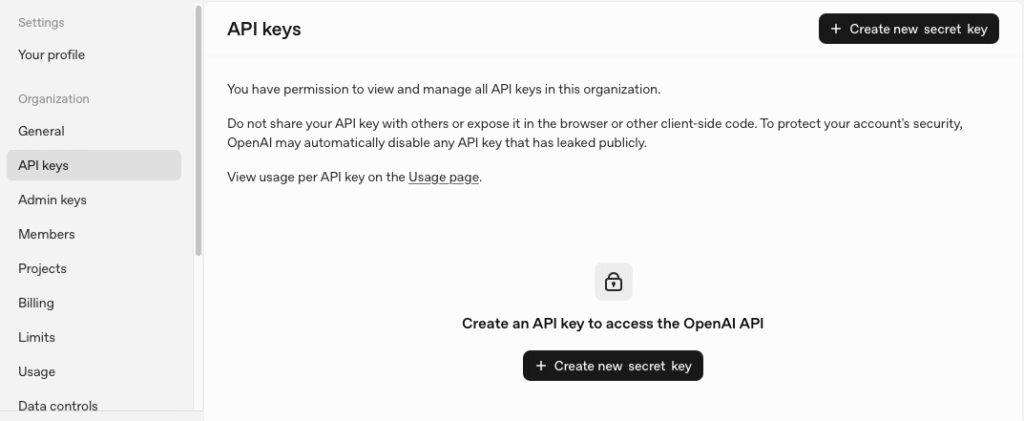
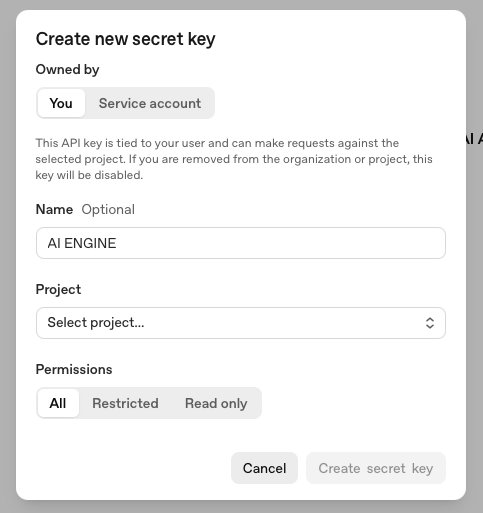
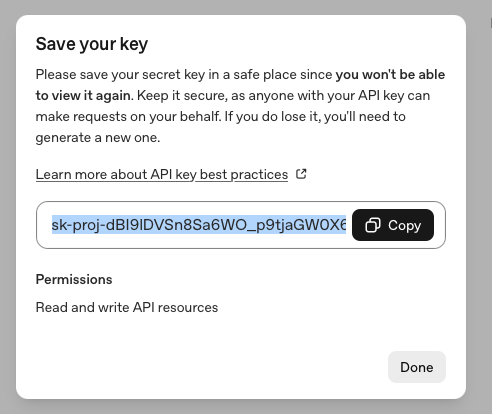
Login to your OpenAI account, go the API dashboard, generate a new API Key, and paste it in the “Settings” tab of AI Engine under the “Environments for AI” API Key field.
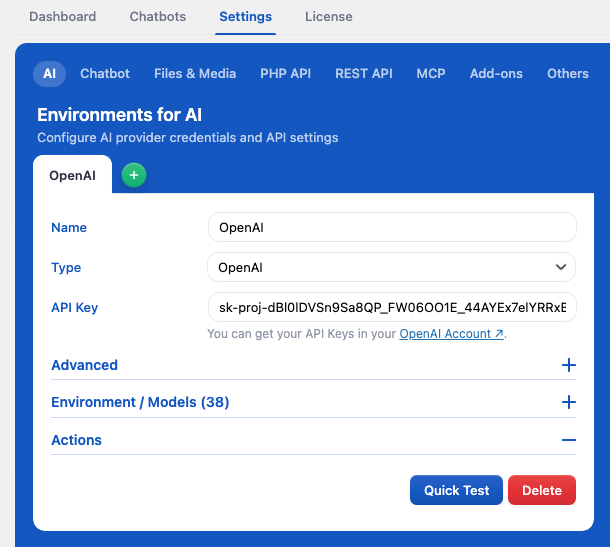
As you can see in this screenshot, there are a lot of different environments. You can create as many as you want, with different services, different API keys—no limits!
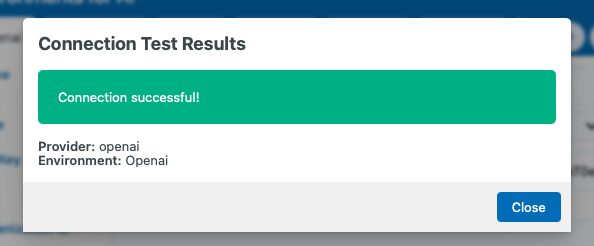
You can also use the “Quick Test” to ensure the communication between your server and OpenAI API is all good.
Congratulations! 🎉 You are now ready to have an AI Chatbot on your website.
Of course, you can use something other than OpenAI, but make sure that you have selected the right “Type” for it, such as Anthropic, Azure, or OpenRouter, to match your API key.
Exploring the Chatbots Tab
Visit the “Chatbots” tab to find the automatically created “Default” chatbot.
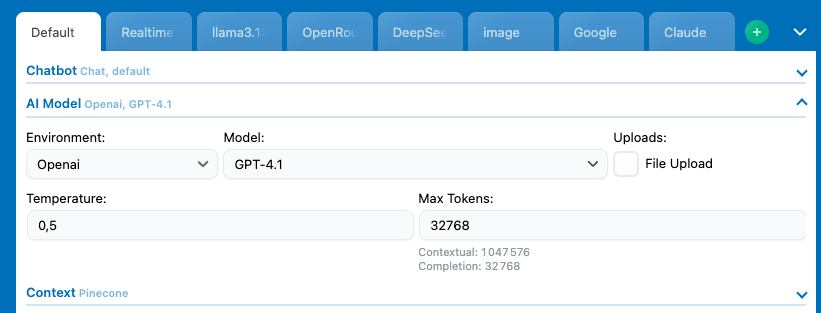
You can see a lot of chatbots in this screenshot; to add new ones, just click the green plus button in the top right corner.
In the AI Model section, choose the environment you just created and the model you wish to use. If you do not make a selection here, the system will automatically apply your default settings, which can be found under Settings > AI > Defaults.
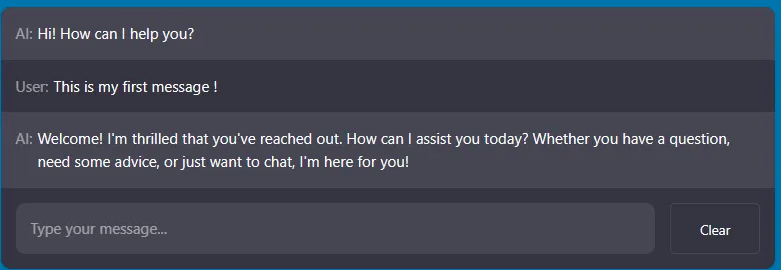
Test it by sending a message in the chat on the right side to experience what your users will see.
Displaying the Chatbot on Your Website
To make the chatbot visible on your website, you have three options:
- Site-Wide Feature: Enables a pop-up icon (bottom right by default) on all pages and posts. Even if the pop-up option is not enabled for this chatbot, using the Site-Wide will force it.
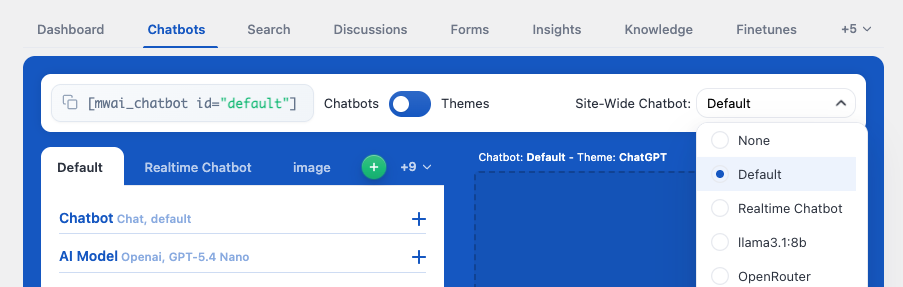
To disable this feature you can simply set it to “None”.
- Shortcode: Use the provided shortcode by copying and pasting it into a shortcode block on your desired page. The shortcode can be found in the top-left corner of the “Chatbots” tab.

You can also create a shortcode override to add custom behavior. Here’s an example to recreate a “site-wide” chatbot while excluding specific pages:
Show code snippet
/**

 * Shortcode: [custom_mwai_chatbot]

 *

 * Returns nothing on excluded pages or the homepage.

 * Returns the Mwai chatbot shortcode everywhere else.

 */

function custom_mwai_chatbot_shortcode() {

    $to_exclude = array(

        // Add page IDs, slugs, or titles here.

        // Example:

        // 123,

        // 'contact',

        // 'Privacy Policy',

    );

    if ( is_front_page() || is_home() ) {

        return null;

    }

    if ( is_page( $to_exclude ) ) {

        return null;

    }

    return do_shortcode( '[mwai_chatbot id="default"]' );

}

add_shortcode( 'custom_mwai_chatbot', 'custom_mwai_chatbot_shortcode' );

function custom_mwai_chatbot_footer() {

    echo do_shortcode( '[custom_mwai_chatbot]' );

}

add_action( 'wp_footer', 'custom_mwai_chatbot_footer' );- Block: If you use Gutenberg, you can add a “AI Chatbot” Block on your page and select the one you want to use.
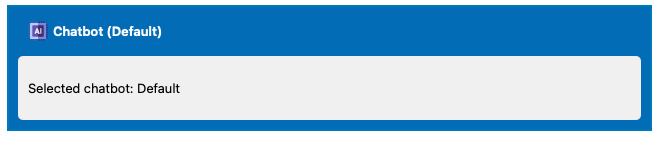
Using the shortcode or block to add your chatbot will embed it directly into the page at that location if the Pop-up feature is not enabled. If you’ve enabled the Pop-up for the chatbot, then no matter where you add the block/shortcode, it will always display as a pop-up.
You can create as many chatbots as you want. You can then have each chatbot on different pages, or have different chatbots per user. You can have the same chatbot settings but with different knowledge environments, and much more.
Customizing Your Chatbot
Feel free to create as many chatbots as you want! Click the “+” button to create your own with a unique ID, which you can customize for a friendlier touch.
If you’re eager to customize and adapt your chatbot for your website’s specific needs, check out this documentation.
Beyond Chatbots
Explore the full potential of AI Engine! Learn how to use powerful tools like AI Forms to generate AI responses based on pre-selected parameters. This feature can be a game-changer for your business. Dive into the details here.
Now that you’ve completed these steps, you’re on your way to unlocking the full capabilities of AI Engine. Don’t be scared to play with different settings, that’s the best way to learn! 😊