First, make sure you understand what embeddings are and what they’re used for. Please read this documentation to get a clear overview of the concept.
1. Go to the “Dashboard” of AI Engine:

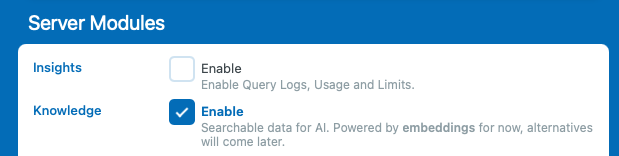
2. Enable the “Knowledge” option to display the “Knowledge” tab for later :
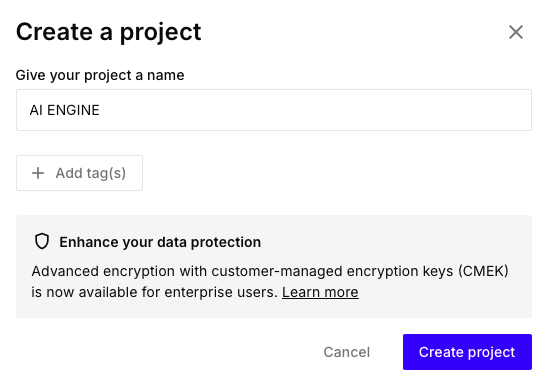
3(a). Go on Pinecone’s website and access your dashboard by login in. There, create a new Project with the free tier starter plan.

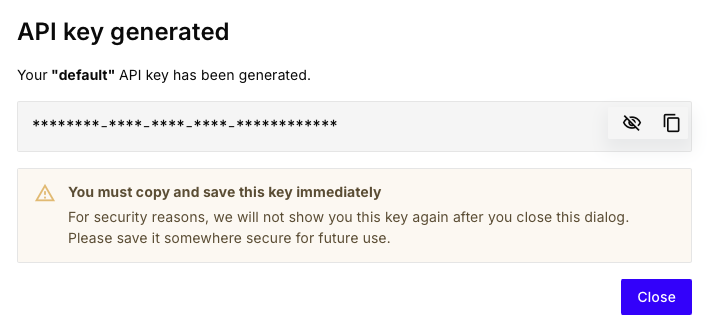
3(b). Then you should be presented with your default API key — make sure to copy it, as you’ll need to register it in AI Engine to enable API-based functionality.
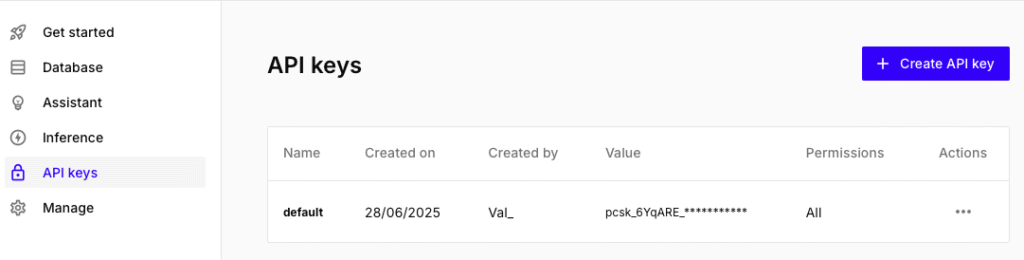
If you missed it, don’t worry. Head to the “API Keys” tab and you should see a “Default” one there. If you can’t see it, please create one using the button “Create API Key“.
Paste your API key somewhere safe, like in a note for now — we’ll first complete everything on the Pinecone side, and then register all the necessary details in AI Engine in one go.
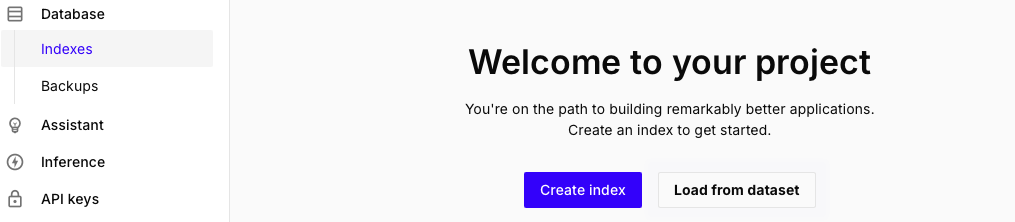
3(c). You can now create an index. Choose a name and dimensions.
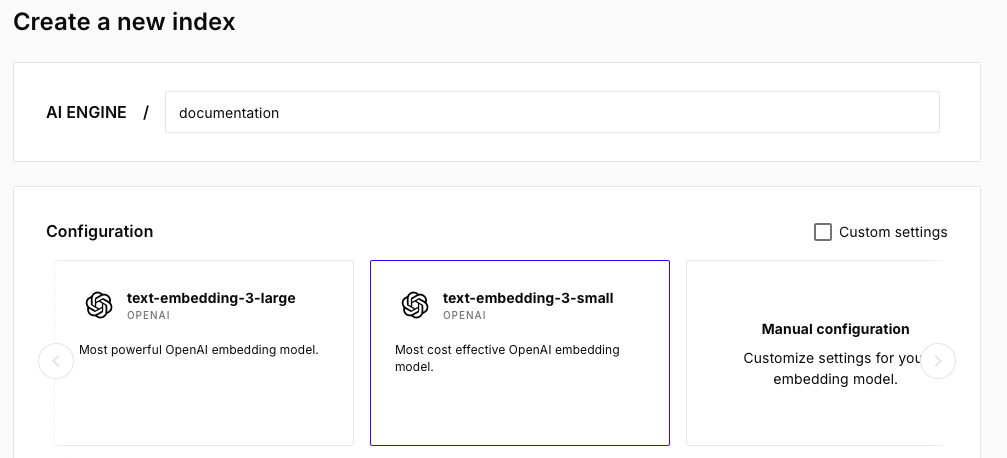
The dimensions should match what you have under ‘Default Environments for AI > Embeddings‘ inside the AI Engine settings. Simply use the ‘Setup by model‘ option and choose the one you want to use.
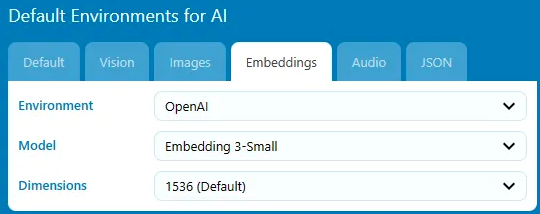
By default AI Engine uses 1536 (ada-3), so unless you have changed it, make sure it matches. In the example here we are using ada-3-small but feel free to use large or ada-2 if you want to, just make sure the dimensions are matching!
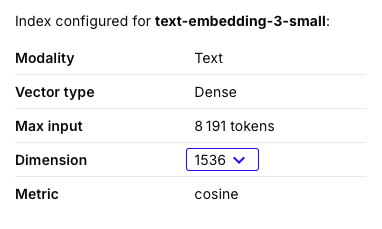
3(d). If everything is done correctly you should see something like this.
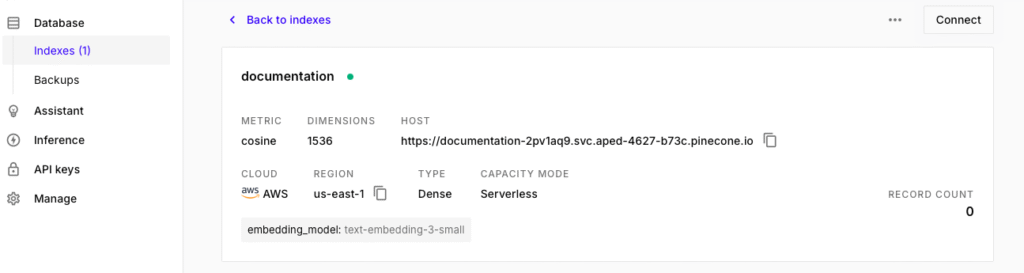
You can now get the “Host” value that we will use inside of AI Engine. Now you should have both your API key and your HOST, this is all we need to set things up in AI Engine.
4. Go back to AI Engine and in the “Settings” tab, click on the “Knowledge” section and insert the value of your previously copied API Key :

5. Enter you API key and the “Server” should match with your HOST :
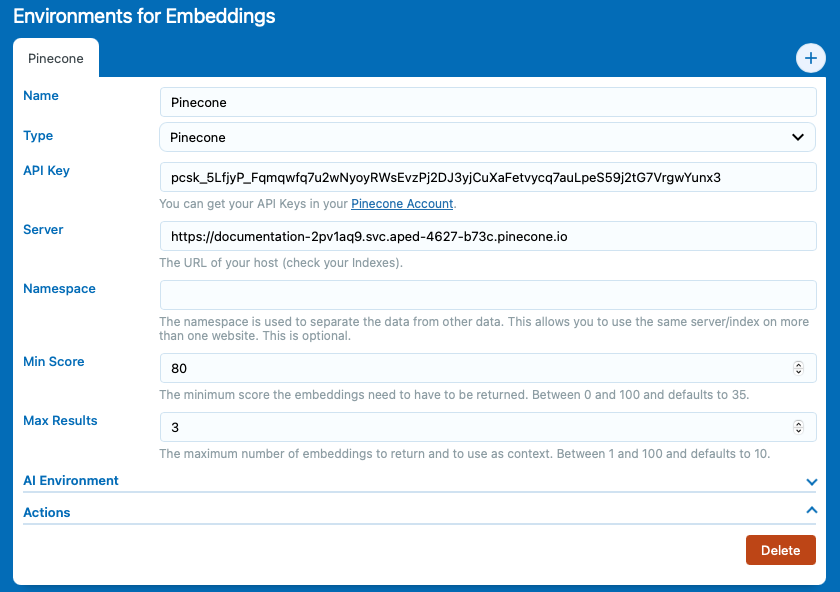
In the above settings, you’re able to set the Min Score and Max Results. When a user sends a message in your chatbot, AI Engine transforms this message into an embedding and compares it with your existing embeddings to find the most relevant matches. But you already understand how embeddings work, right?
The “match” score represents the similarity between the query and an existing embedding, typically ranging from 0% to 100%. The Min Score setting allows you to define the minimum relevance required to consider an embedding a valid match. You may have multiple matches, and the system will consider up to the number defined in Max Results (e.g., 10).
Keep in mind that adding embeddings to the context will increase the total token usage. The larger or more numerous the embeddings, the more tokens are consumed. If some embeddings aren’t appearing in the context, it might be because your Max Content Length setting is too low relative to your Max Results setting. Make sure those values are balanced to avoid cutting off relevant matches.
6. Now, access the “Knowledge” tab of AI Engine:

7. On the top right of the table, you should see a dropdown to select your created env. If you don’t select an environment to work with here, the buttons will be disabled.

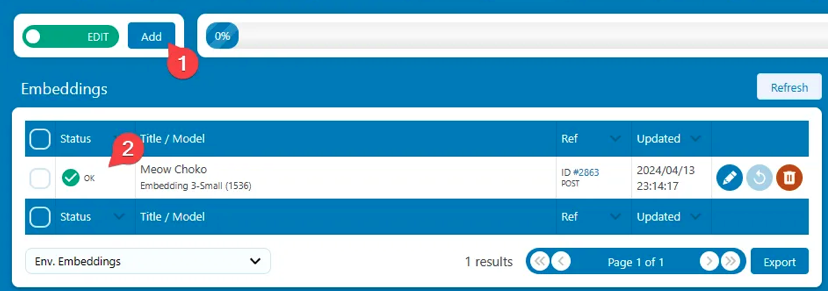
9. Everything should be setup correctly at this point. You can now add embeddings by clicking the “Add” button on the top left of this display.
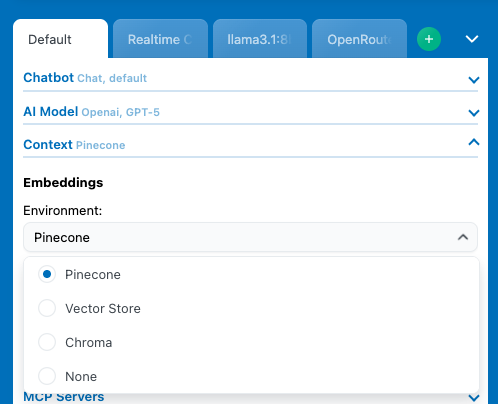
10. Select your environment in your chatbot settings.
You’re done!🎉
Check this documentation to learn how you can add new embeddings.